 IT-Now
Complete Guide: Creating Google Workspace Email Aliases & Gmail Filter Automation
IT-Now · September 17, 2026
Guide to Adding Google Workspace Secondary Email Addresses (Aliases) and Auto-Sorting with Gmail Filters
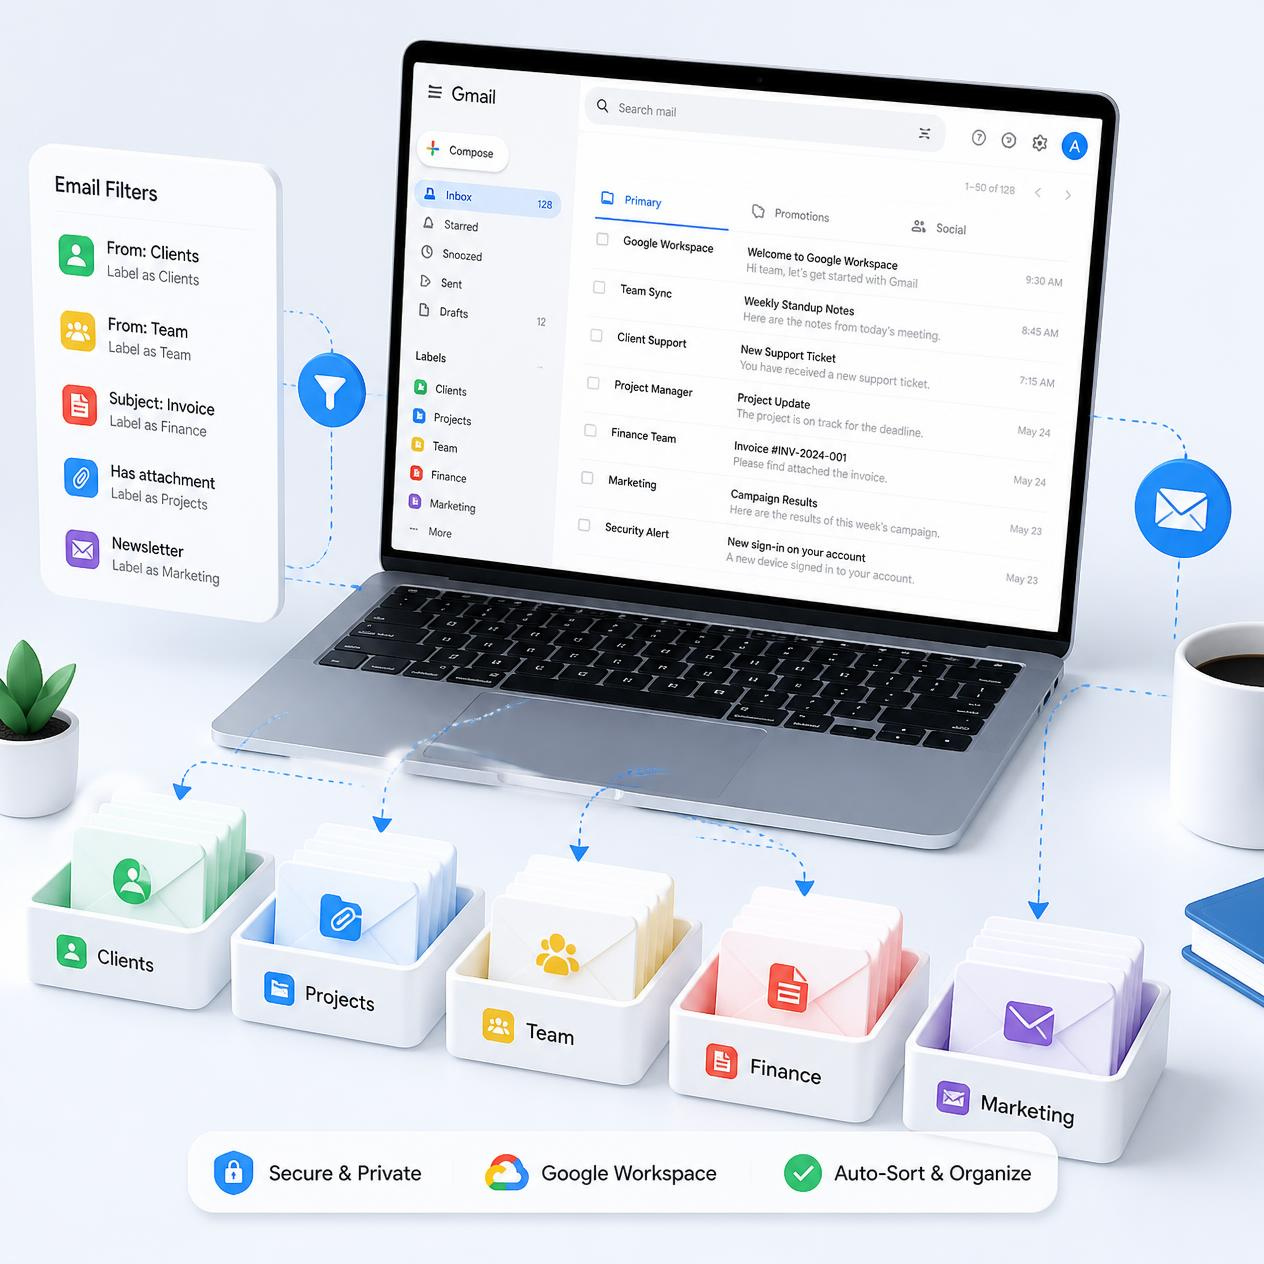
Google Workspace allows you to create multiple secondary email addresses (aliases) for a single user account, enabling you to receive and manage emails for various purposes without the cost of additional user accounts.
This guide explains the concept and use cases of secondary email addresses, how to create them via the Admin Console, and how to use Gmail filters to automatically sort and organize emails received at these addresses into specific folders.
1. What is a Google Workspace Secondary Email (Alias)?
A secondary email (Email Alias) is an "alternative address" linked to your existing primary account.
Key Features and Benefits
- Cost Savings: You can add up to 30 secondary email addresses per user for free, without purchasing additional licenses.
- Unified Management: All emails sent to the secondary address arrive in the user's primary Gmail inbox, eliminating the need to log in and out of multiple accounts.
- Increased Efficiency: You can link addresses tailored to specific purposes or departments—such as
info@company.com,sales@company.com, orsupport@company.com—to individual employee accounts, allowing for efficient inquiry management.
2. Adding a Secondary Email in the Admin Console
To create a secondary email address, you need Google Workspace administrator (Admin) privileges. Log in with your administrator account and follow the steps below.
- Access the Google Admin Console: Go to admin.google.com and log in with your administrator account.
- Navigate to the Users Menu: Click Directory > Users in the left-hand navigation menu. 3. Select User: Click the name of the user for whom you want to add a secondary email address to navigate to their details page.
- Set Up Secondary Email:
- Locate the Email aliases field in the user information section and click Add email alias.
- Enter the desired alias name (e.g.,
contact,marketing, etc.) in the Email alias field and select the domain.
- Save: Click the Save button to complete the setup. (It may take anywhere from a few minutes up to 24 hours for the changes to take effect.)
3. Automatically Sorting Secondary Emails Using Gmail Filters
If emails sent to your secondary email address get mixed in with regular emails in your primary inbox, you might miss important inquiries or find management cumbersome. By using Gmail's Filter and Label features, you can assign a dedicated label to emails arriving at your secondary address and set them to be automatically sorted into a specific folder, bypassing the primary inbox.
Step 1: Create a Label for Sorting
First, create a label (similar to a folder) to collect and sort the emails.
- Access Gmail on your computer.
- Click More at the bottom of the left-hand menu list, then click Create new label.
- Enter a descriptive name for the label (e.g.,
[Secondary] Sales Inquiries,Info-Mail, etc.) and click Create.
Step 2: Create an Automatic Sorting Filter
- Click the search options icon (slider icon) located to the right of the search bar at the top of Gmail. 2. Enter the 'secondary email address' you just added (e.g.,
info@yourdomain.com) exactly into the To field. - Click the Create filter button at the bottom.
- Select the actions to perform when an email arrives:
- Skip the Inbox (Archive): Check this if you want the email to go straight to a label without appearing in your main inbox.
- Apply the label: Select the label you created earlier (e.g.,
[Secondary] Sales Inquiries). - Mark as read or Never send it to Spam: Check these additional options as needed.
- (Optional) Check "Also apply filter to matching conversations" to apply this to emails you have already received.
- Click Create filter to complete the setup.
4. Setting Up Replies/Sending from the Secondary Email
If you want to reply to emails received at your secondary email address using that secondary address as the sender (instead of your main address), you need to configure the following additional settings:
- Go to Settings (gear icon) > See all settings in the top-right corner of Gmail.
- Click the Accounts tab.
- Click Add another email address.
- In the pop-up window, enter the Name (the name recipients will see) and the secondary email address, then click Next step.
- Complete the registration by following the verification process.
- Under the "Send mail as" section in the Accounts tab, select the option "Reply from the same address the message was sent to". If this option is enabled, the secondary email address is automatically set as the sender when you reply to inquiries received via that address, without requiring manual changes.
5. Practical Tips and Precautions
- Spam and Security Management: Since secondary email addresses are often used for public-facing purposes (e.g., a general business contact address), they are prone to receiving spam. When configuring filters, exercise caution with the "Never send it to Spam" option unless the sender is a trusted, specific source.
- Cannot Log In to Google Account: A secondary email address is solely for email forwarding and does not function as an independent Google account. Therefore, you cannot log in to Google services using the secondary email address; you must use your primary address to log in.
- Difference from Google Groups: If multiple users need to share a single email address to receive and reply to messages collaboratively, it is recommended to use the Google Groups feature instead of the "secondary email" option designed for individual users.